Near-Drowning in the Pool: First Aid for Parents
Every year, toddlers drown in paddling pools, swimming pools, and rain barrels. This article explains to parents and grandparents step by step the immediate measures after submersion in infants and toddlers – from checking breathing and rescue breaths to calling emergency services – and separates the dangerous reality of delayed lung injury from the myths surrounding 'secondary drowning.'

Author: Dr. med. univ. Daniel Pehböck, DESA
Specialist in Anesthesiology and Intensive Care Medicine, AHA-certified ACLS/PALS Instructor, Course Director Simulation Tirol
Reading time approx. 9 min
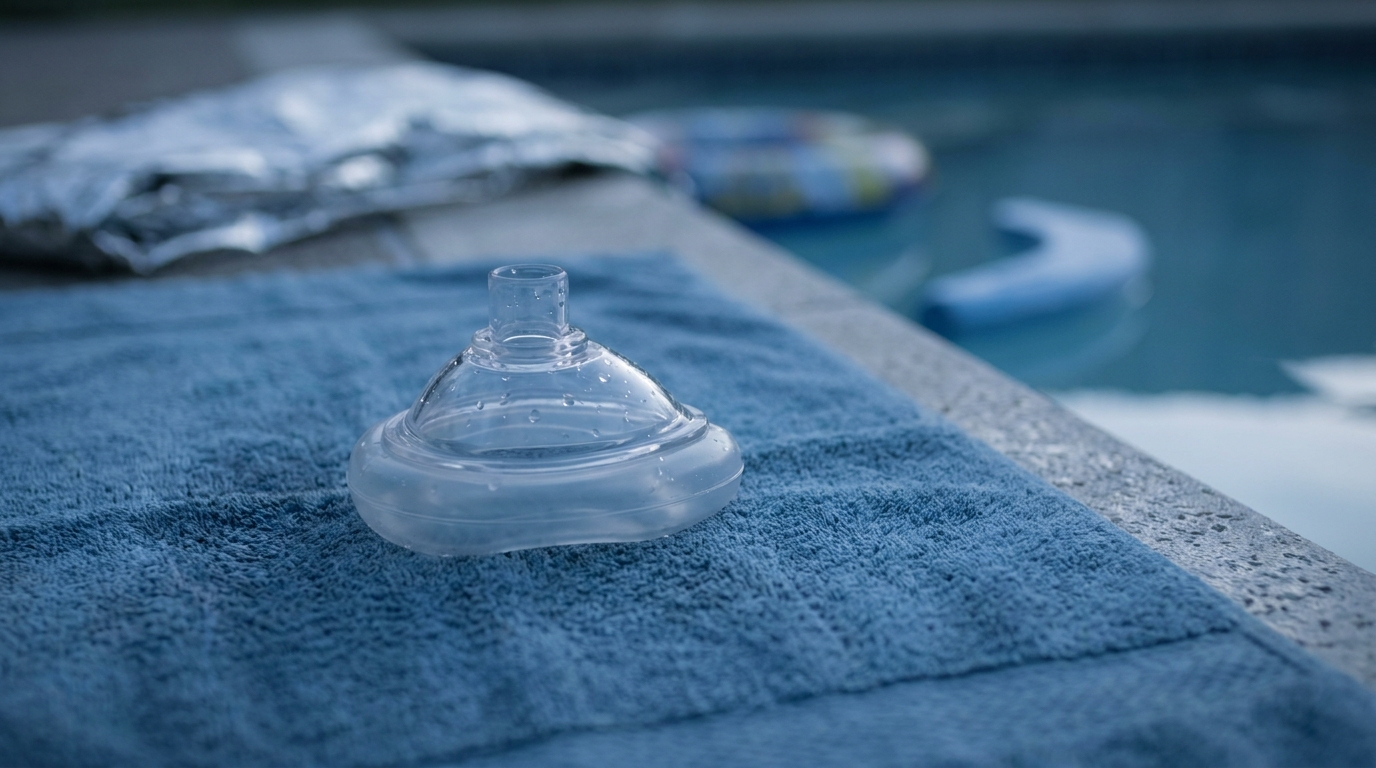
It happens in seconds – silently and without the dramatic splashing you see in movies. A toddler who falls into water doesn't cry for help. They simply go under. Just a few centimeters of water depth are enough for a baby or toddler to drown. Paddling pools, garden ponds, rain barrels, inflatable pools, and even buckets of mop water are among the most common hazards in and around the home. As a parent, grandparent, or caregiver, you can make all the difference in such a situation – if you know what to do. This article walks you through first aid after a near-drowning step by step and clears up common myths.
Why Children Are So Vulnerable
Infants and toddlers have a proportionally large, heavy head compared to the rest of their body. When they lean over the edge of a bathtub, a rain barrel, or the side of a paddling pool, their center of gravity shifts forward – they fall in headfirst and cannot right themselves on their own. On top of that: small children drown silently. Unlike adults, they don't struggle at the surface. They react with a kind of freeze response, known as the instinctive drowning response, and go under within 20 to 60 seconds.
Hazards That Are Often Underestimated
- Paddling pools and inflatable pools – as little as 5 to 10 cm of water depth is dangerous for babies
- Rain barrels and buckets – particularly treacherous because children fall in headfirst
- Bathtubs – not a safe place without supervision, even with a bath seat
- Garden ponds and water features – often not fenced off
- Dog bowls and mop buckets – sounds absurd, but it's documented
The most important rule is: Never leave children in or near water unsupervised – not even for a few seconds. No sibling, no swim aid, and no fence can replace direct supervision by an adult.
What Happens in the Body During a Near-Drowning?
When a child goes underwater and inhales water (medical professionals call this "submersion"), water enters the airways and the lungs. There it disrupts gas exchange – the process by which oxygen is absorbed into the blood and carbon dioxide is released. The result: the oxygen level in the blood drops rapidly. The brain is extremely sensitive to oxygen deprivation – permanent damage can occur after just a few minutes.
Additionally, a laryngospasm (vocal cord spasm) can occur: the larynx clamps shut reflexively to protect the lungs. This means less water reaches the deeper airways, but it also means no air can get in. The child essentially suffocates "dry."
That's why acting quickly is so critical: every second without oxygen counts.
Step-by-Step Guide: First Aid for Near-Drowning
Step 1: Get the Child Out of the Water – and Stay Safe Yourself
Get the child out of the water immediately. With a paddling pool or a bathtub, this is usually straightforward. In deeper bodies of water, make sure you don't put yourself at risk.
Place the child on a firm, flat surface – the floor, a table, or a changing mat.
Step 2: Check for Responsiveness
Speak loudly to the child, gently tap the soles of the feet (for babies) or tap the shoulder (for toddlers). Does the child respond – by crying, coughing, moving, or opening their eyes?
- Child responds → continue at Step 5 (call emergency services and monitor)
- Child does not respond → immediately continue at Step 3
Step 3: Open the Airway and Check Breathing
Place the child on their back. To open the airway:
- For a baby (under 1 year): Bring the head into a neutral position. Gently lift the chin by placing a fingertip on the bony part of the chin and lifting upward. Do not overextend the head – for babies, a "sniffing position" is sufficient (the head is straight, the nose points slightly upward, as if the baby were smelling a flower).
- For a toddler (1–5 years): Tilt the head slightly backward and simultaneously lift the chin.
Now check for breathing: Hold your ear and cheek close over the child's mouth and nose. Look at the chest at the same time. For a maximum of 10 seconds:
- Can you see the chest rising and falling?
- Can you hear breathing sounds?
- Can you feel airflow on your cheek?
Important: Occasional gasping or gurgling breaths (known as agonal breathing) are not normal breathing. Treat it as a respiratory arrest.
- Child is breathing normally → recovery position (for children) or prone/side position for babies, call 144
- Child is not breathing or only gasping → immediately continue at Step 4
Step 4: Rescue Breaths and Chest Compressions (Resuscitation)
In near-drowning, oxygen deprivation is the central problem. That's why resuscitation in children – unlike in adults – begins with five initial rescue breaths before you start chest compressions.
Five Initial Rescue Breaths
For a baby (under 1 year):
- Cover the baby's mouth and nose with your mouth at the same time
- Blow air in gently and steadily – just enough to make the chest visibly rise
- Each breath should last about 1 second
- Give 5 breaths in a row
For a toddler (1–5 years):
- Pinch the nose closed with your fingers
- Seal your mouth over the child's mouth
- Blow air in until the chest rises
- Give 5 breaths in a row
Important: Don't blow too forcefully! Children's lungs are small and delicate. Adjust the volume of air to the size of the child. The chest should rise visibly but gently.
Chest Compressions
If the child shows no signs of life after the 5 initial rescue breaths (no coughing, no movement, no normal breathing), begin chest compressions immediately:
For a baby (under 1 year):
- Compression point: center of the chest, on the breastbone, one finger-width below the imaginary line between the nipples
- Press down on the breastbone about 4 cm deep using two fingertips (index and middle finger)
- Rate: 100 to 120 times per minute (the rhythm of the song "Stayin' Alive" works as a helpful guide)
For a toddler (1–5 years):
- Compression point: center of the chest, lower half of the breastbone
- Press down on the breastbone about 5 cm deep using the heel of one hand
- Same rate: 100 to 120 times per minute
The Ratio
After the 5 initial rescue breaths, switch to the following rhythm:
15 chest compressions → 2 rescue breaths → 15 chest compressions → 2 rescue breaths …
If you are alone and find it too difficult to simultaneously ventilate and compress, a ratio of 30 chest compressions to 2 rescue breaths is also acceptable. The main thing is that you don't stop.
Only stop resuscitation when:
- the child starts breathing normally, coughing, or moving again
- the emergency medical services take over
- you are physically unable to continue
Step 5: Call Emergency Services – 144 (in Austria)
Ideally, a second person calls emergency services immediately while you begin first aid. If you are alone with the child, follow this rule:
- Perform resuscitation for 1 minute first before calling emergency services
- Put the phone on speaker so you can keep working while on the call
- State clearly: "A child has nearly drowned, they are not breathing, I am performing CPR"
- The dispatcher will guide you further over the phone
In Austria, you can reach emergency medical services at 144 and the European emergency number at 112. Both numbers work even without credit and without a SIM card.
What if the Child Is Awake and Coughing?
Not every near-drowning leads to unconsciousness. Many children cough, gag, or cry after a brief submersion. This is initially a good sign – the child is breathing and conscious.
However: Every child who has been submerged and may have inhaled water must be examined by a doctor – even if they appear to have recovered.
Call emergency services (144) or drive immediately to the nearest pediatric emergency department. The reason: even if the child seems fine now, lung damage can develop in the hours that follow, requiring monitoring and possibly treatment.
"Secondary Drowning" – What's Behind It?
You may have heard of "secondary drowning" or "dry drowning" – terms that cause a lot of uncertainty, particularly on social media. Let's put this into perspective:
What Can Actually Happen Medically
If a child has inhaled water, the water in the lungs can trigger an inflammatory response. This causes fluid to accumulate in the air sacs of the lungs (known as pulmonary edema), and gas exchange progressively worsens. This can indeed lead to breathing problems hours after the actual event.
What Is a Myth
The terms "secondary drowning" and "dry drowning" are not recognized medical diagnoses. Professional organizations such as the AHA recommend not using these terms because they are imprecise and cause unnecessary fear. There is no mysterious, invisible form of drowning that kills a healthy, asymptomatic child out of nowhere days later.
What You Should Still Watch For
If your child has inhaled water and initially appears fine, watch for the following warning signs in the hours that follow:
- Increasing cough or wheezing
- Rapid, labored breathing or nasal flaring
- Retractions between the ribs or at the neck during breathing
- Unusual tiredness or drowsiness
- Blue discoloration of the lips or fingernails
- Fever
- Vomiting
If one or more of these signs appear, go to the pediatric emergency department immediately or call 144. But once again: the safest approach is to have the child seen by a doctor after every submersion event – that way you don't have to decide on your own at home whether everything is okay.
Prevention: How to Protect Your Child
The best first aid is the kind you never have to give. That's why here are the most important prevention measures:
- Direct supervision around water – always stay within arm's reach, especially with babies and toddlers under 5 years of age
- Empty paddling pools after play – an inflatable pool with residual water is a silent trap
- Cover and secure rain barrels and cisterns – with a childproof lid
- Fence off garden ponds – at least 1 meter high with a self-closing gate
- Keep the bathroom door closed – never leave a bathtub filled with water unattended
- Swim aids are not a safety substitute – water wings and swim rings do not protect against drowning
- Enroll in swimming lessons early – from preschool age, but even swimming lessons never replace supervision
- Refresh your first aid skills – so that you can act effectively in an emergency
What You Should Remember – Summary
- Get the child out of the water immediately
- Check for responsiveness – are they responding?
- Open the airway, check breathing – for a maximum of 10 seconds
- No breathing → 5 initial rescue breaths → then 15:2 chest compressions and rescue breaths
- Call 144 – after 1 minute of CPR if you are alone
- Have even seemingly fine children examined by a doctor
- Prevention is the best protection
Practical Training
Reading an article is a good start – but first aid for babies and toddlers is something you need to have practiced with your hands so that you can actually perform it in an emergency. In the baby resuscitation course from Simulation Tirol, you practice rescue breathing, chest compressions, and clearing the airway on realistic training manikins, and you learn under expert guidance how to stay calm and act correctly in critical situations. The course is specifically designed for parents, grandparents, midwives, and anyone who regularly cares for small children – no medical background is required. Because knowledge alone doesn't save lives. Skills do.
Want to practice this hands-on?
In our Baby-Reanimationskurs you practice this topic hands-on with high-tech simulators and experienced instructors.
More Articles
Respiratory Distress Syndrome in Newborns: Causes and Initial Management
Transient tachypnea, meconium aspiration, and surfactant deficiency – how healthcare professionals and parents can distinguish the most common causes of neonatal respiratory distress and which immediate measures can be lifesaving.
Airway Obstruction in Infants: Back Blows and Chest Thrusts
Detailed lay-rescuer guide for choking emergencies in babies under 1 year: positioning, blow technique, alternating measures, and when to call emergency services.
Baby Not Breathing: Infant CPR for Laypeople
A clear, easy-to-understand guide to cardiopulmonary resuscitation (CPR) for babies under one year of age. This article explains how to check breathing, perform rescue breaths, and give chest compressions with the correct hand position – specifically designed for parents and grandparents with no medical background.